Connecting Klaviyo to Taplo
Step-by-step guide to enable Klaviyo integration in your Taplo app settings, ensuring your platform is ready for advanced marketing automation.
Overview
This tutorial will guide you through enabling Klaviyo integration in your Taplo app settings. Once connected, you'll be able to leverage advanced marketing automation features, including automated email flows, customer segmentation, and revenue tracking directly from your Taplo account.
Prerequisites
Before you begin, make sure you have:
- Access to your Taplo app settings page
- Admin permissions to enable integrations
- A Klaviyo account (if you don't have one, you can create it during the connection process)
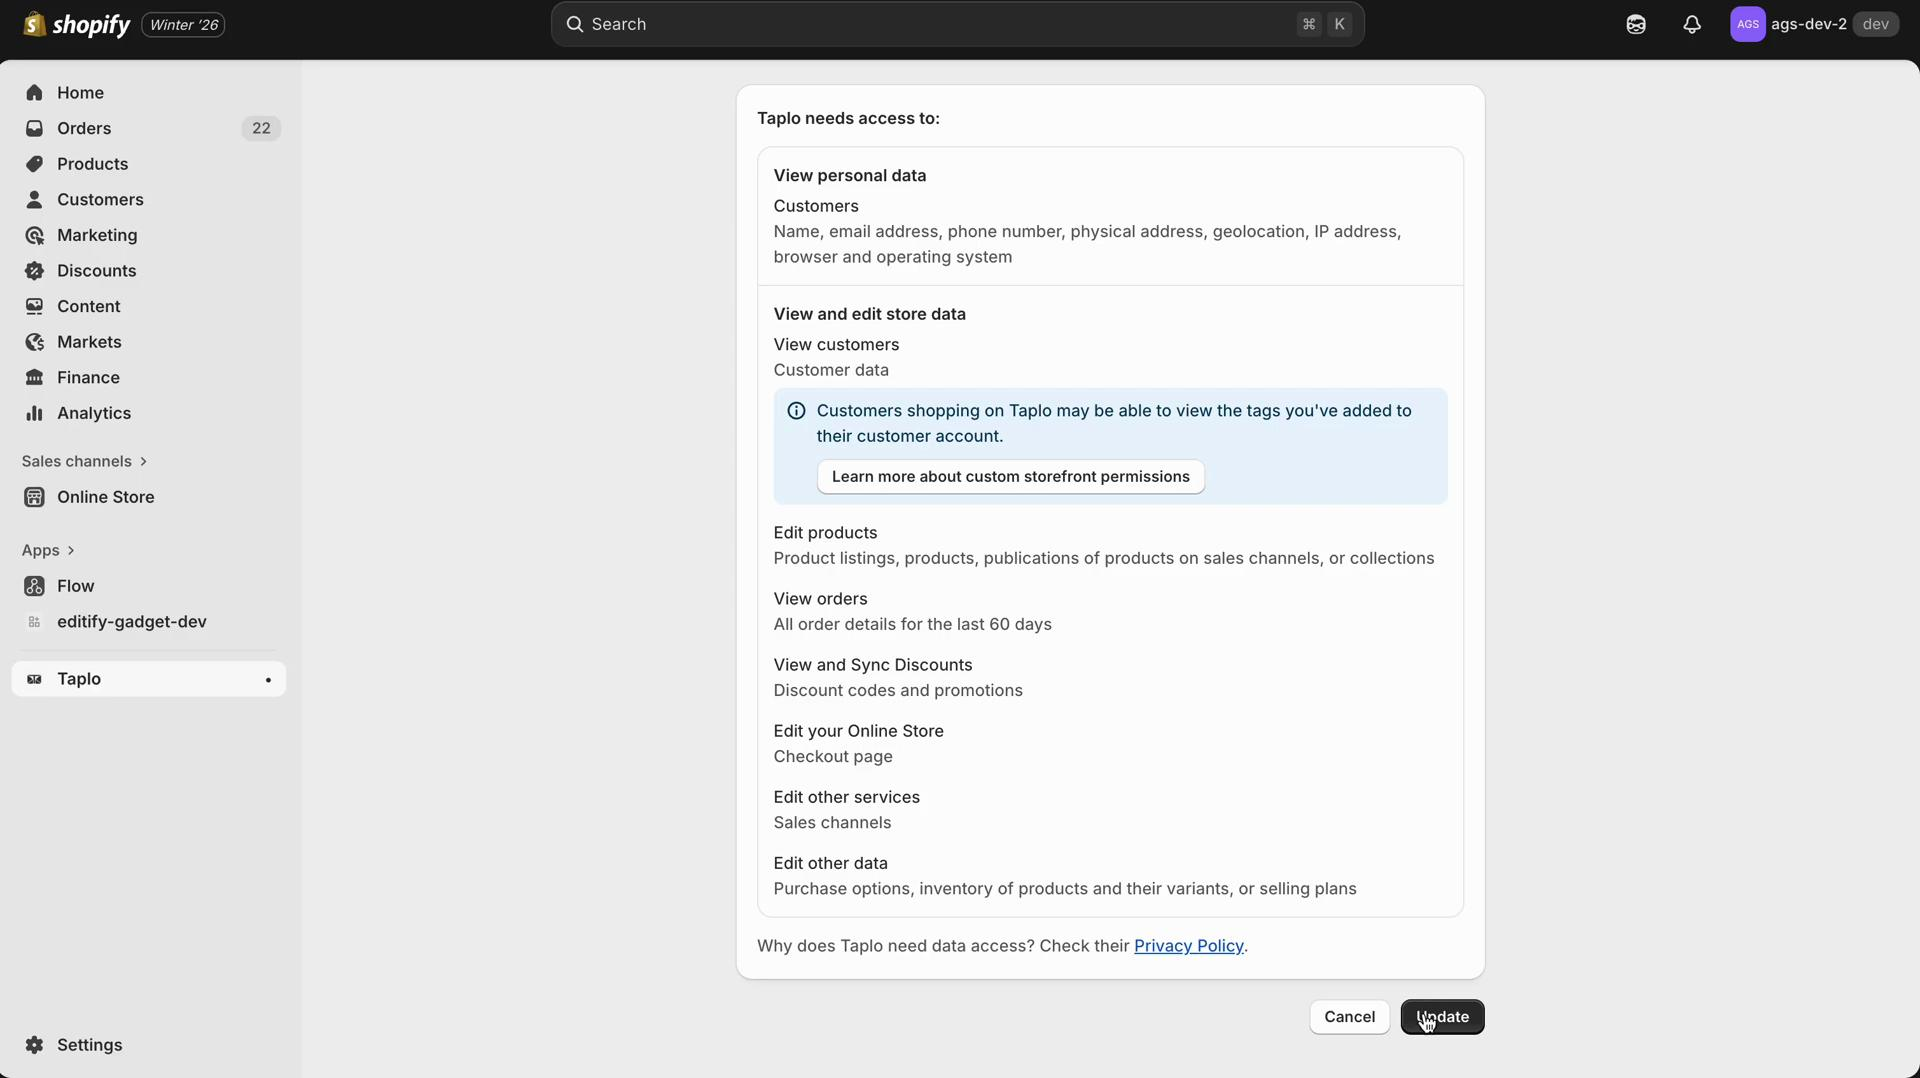
Step 1: Review Permissions
Start by navigating to your Taplo app settings. You'll first see a permissions screen that outlines what access Klaviyo requires for the integration. Review these permissions carefully to understand what data and features Klaviyo will have access to.
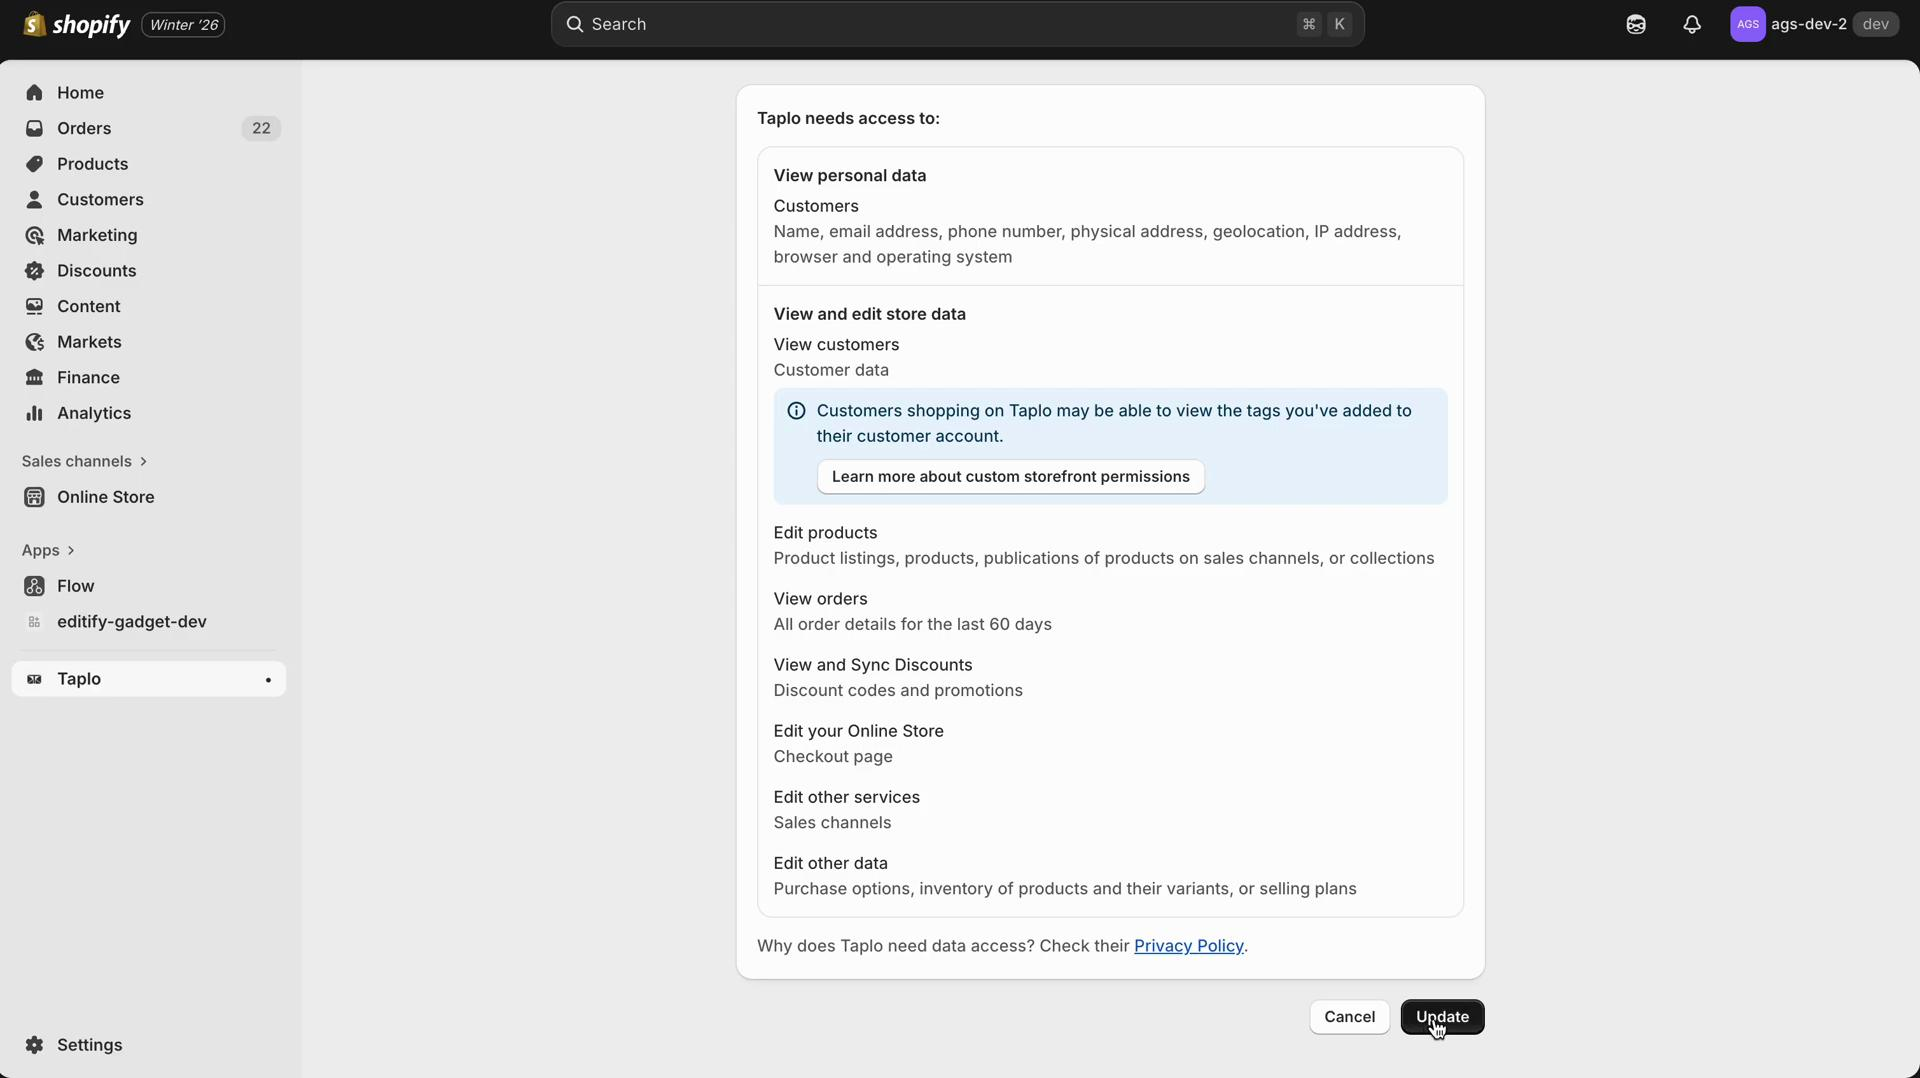
When you're ready to proceed, click the Update button to continue.
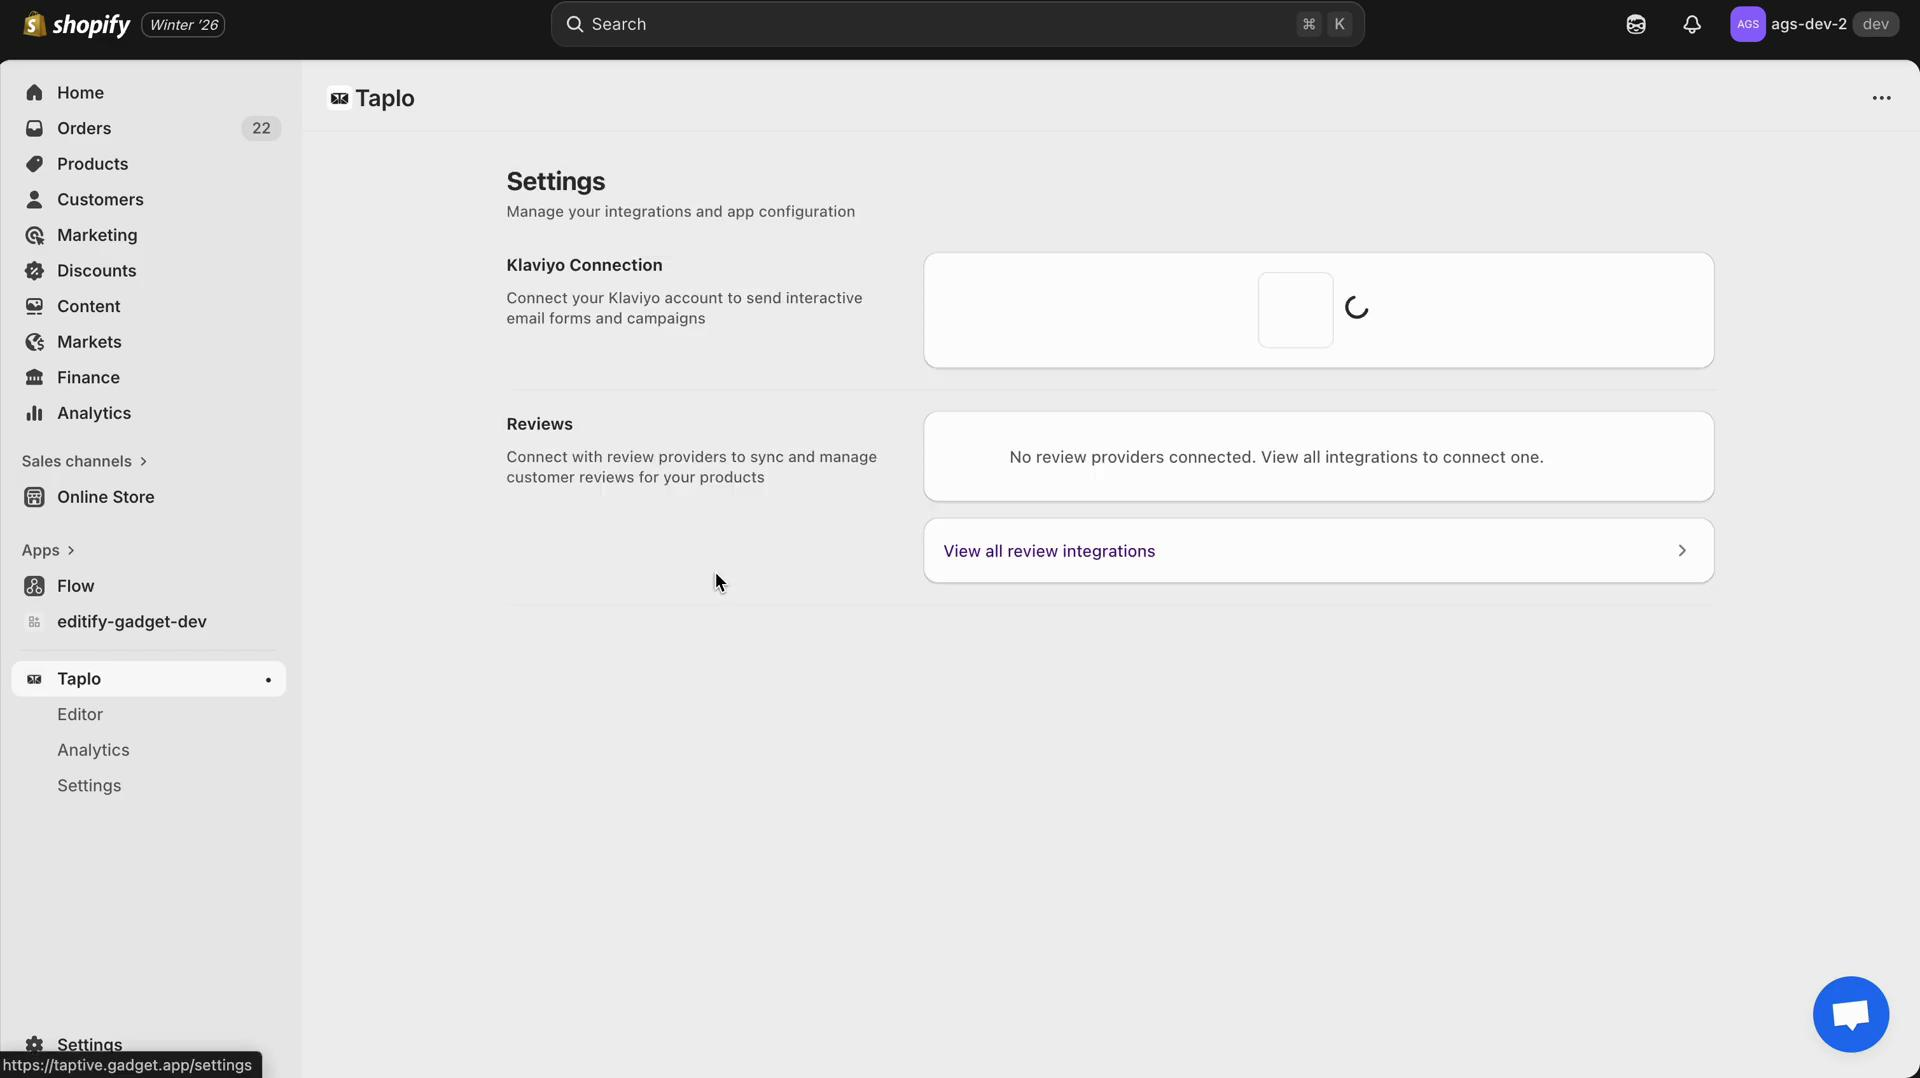
Step 2: Navigate to Settings
After clicking Update, you'll be redirected to the Taplo settings page. The platform will begin loading the integration options. You may see a brief loading state as the system prepares the integration interface.
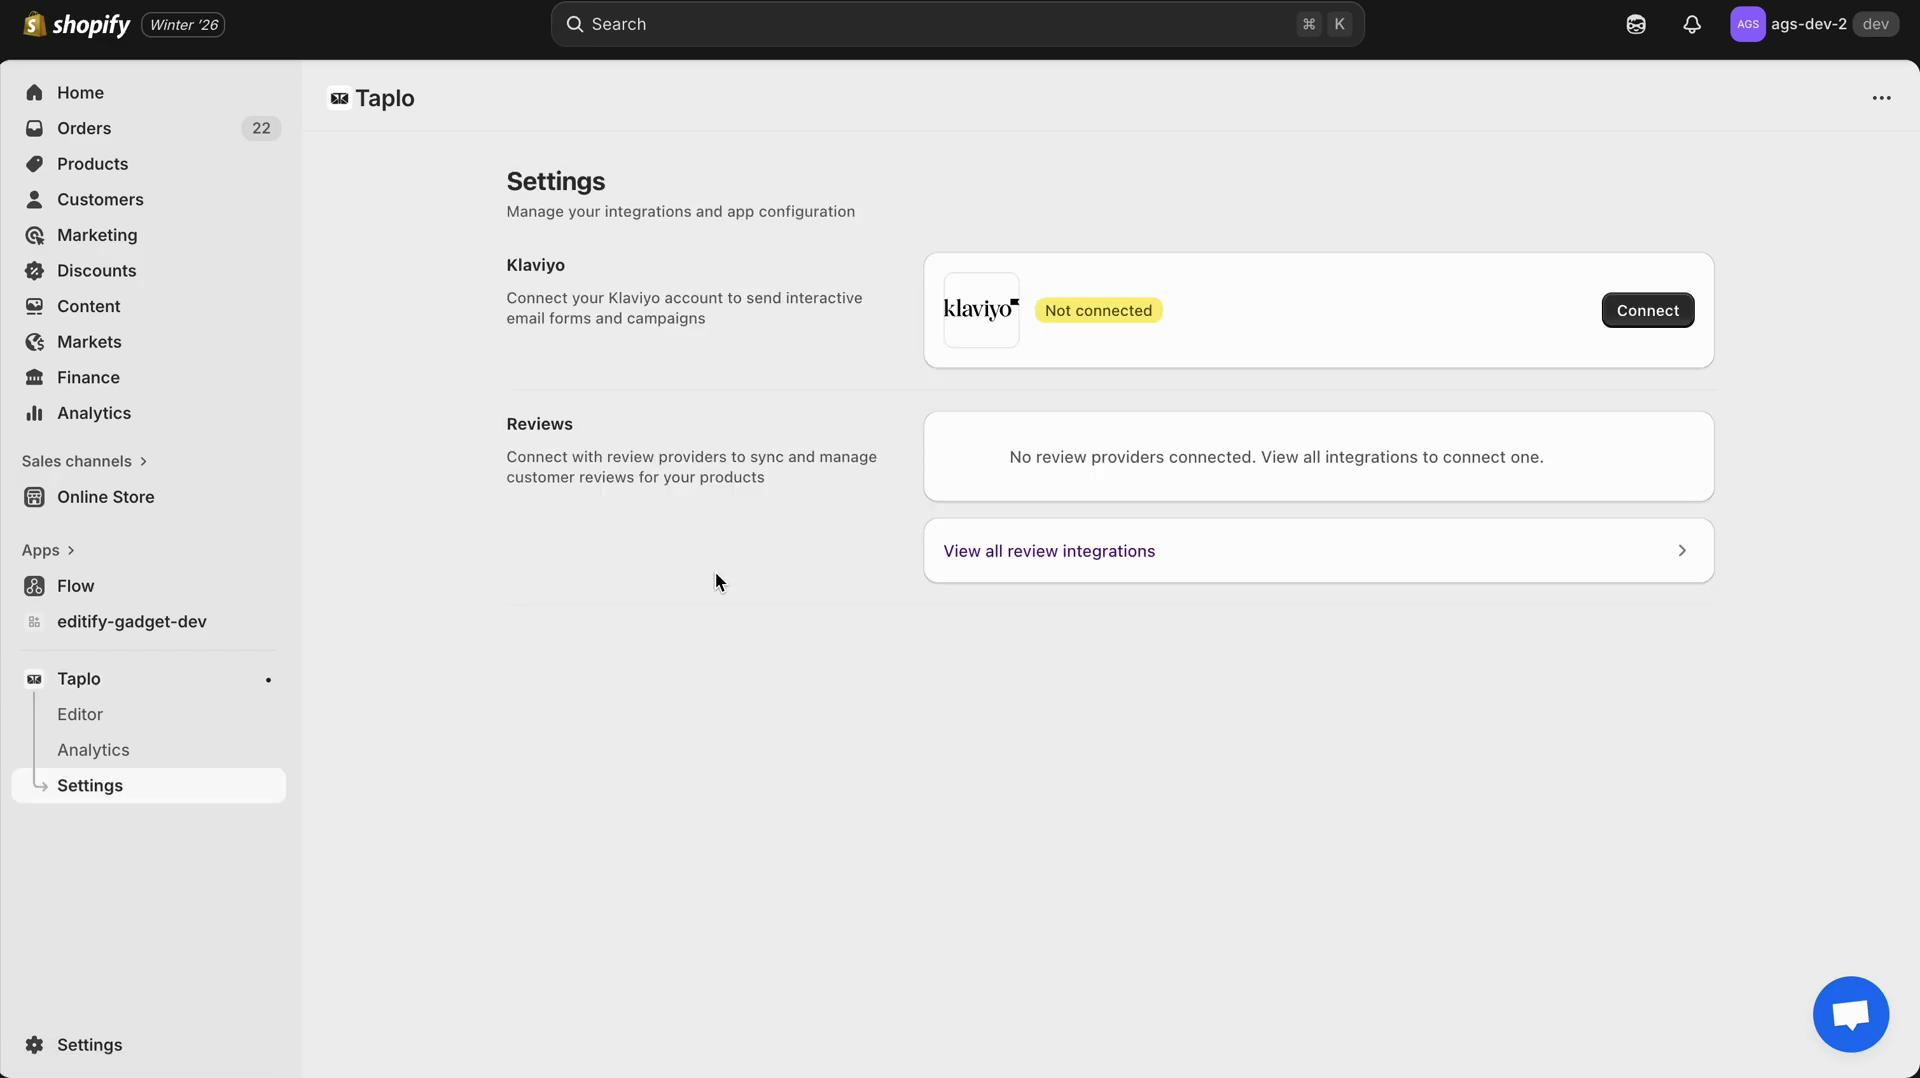
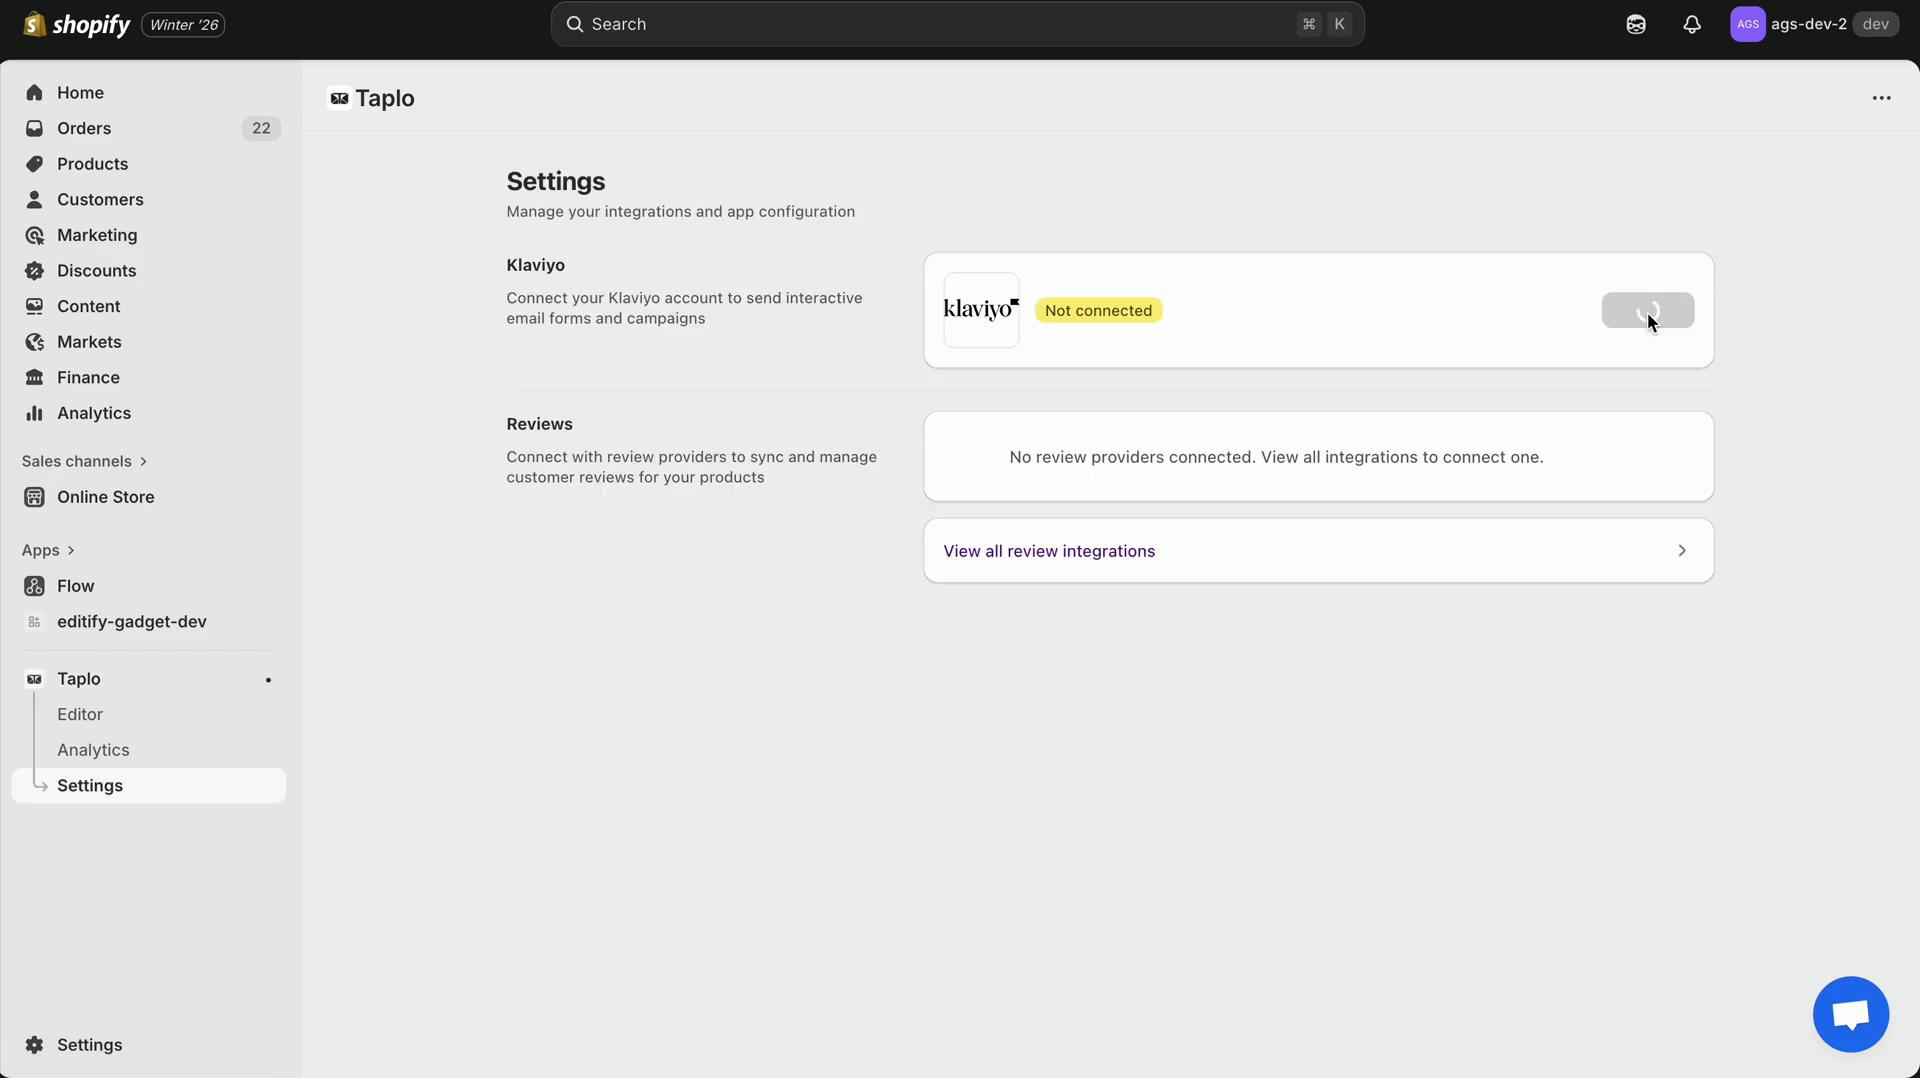
Step 3: View Integration Status
Once the page has loaded, you'll see the integration status displayed. This shows you the current state of your Klaviyo integration and any relevant information about the connection.
Step 4: Locate Klaviyo Integration Section
Navigate to the Taplo Settings page and locate the Klaviyo integration section. This is where you'll find all the controls needed to manage your Klaviyo connection.
Step 5: Enable the Integration
In the Klaviyo integration section, you'll see a toggle switch. Click the toggle to enable the Klaviyo integration in Taplo. The platform will automatically update to reflect your changes, and you'll see the integration status change to "Enabled" or "Active".
Step 6: Connect to Klaviyo
After enabling the integration, locate the Connect button. When you're satisfied with your settings and ready to establish the connection, click Connect to proceed with linking your Klaviyo account.
The system will guide you through the authentication process, which may require you to log in to your Klaviyo account and authorize the connection.
Verification
After completing the connection process, verify that:
- The integration status shows as "Connected" or "Active"
- You can see Klaviyo-related options in your settings
- No error messages are displayed
Next Steps
Congratulations! You've successfully enabled Klaviyo integration in your Taplo app settings. Now you can:
- Create automated email flows for cart abandonment, welcome series, and post-purchase follow-ups
- Build product recommendation campaigns based on customer behavior
- Track revenue attribution from your email campaigns
- Send personalized product emails based on browsing history and purchase data
- Set up segments based on purchase behavior, engagement, and customer lifetime value
For more advanced features and customization options, explore Klaviyo's documentation on creating custom segments, flows, and campaigns tailored to your business needs.
Troubleshooting
If you encounter any issues during the connection process:
- Integration won't enable: Check that you have the necessary permissions and that your Taplo account is in good standing
- Connection fails: Verify your internet connection and try refreshing the page
- Status doesn't update: Wait a few moments for the system to sync, then refresh the page
If problems persist, contact Taplo support for assistance.